Help centerSet up your workspace
Reefs
Create a reef, record its habitat, draw its boundary on the map, and delete it.
Create a reef
A reef holds the sites and surveys for one restoration or monitoring area. You can create one from the dashboard or from the map.
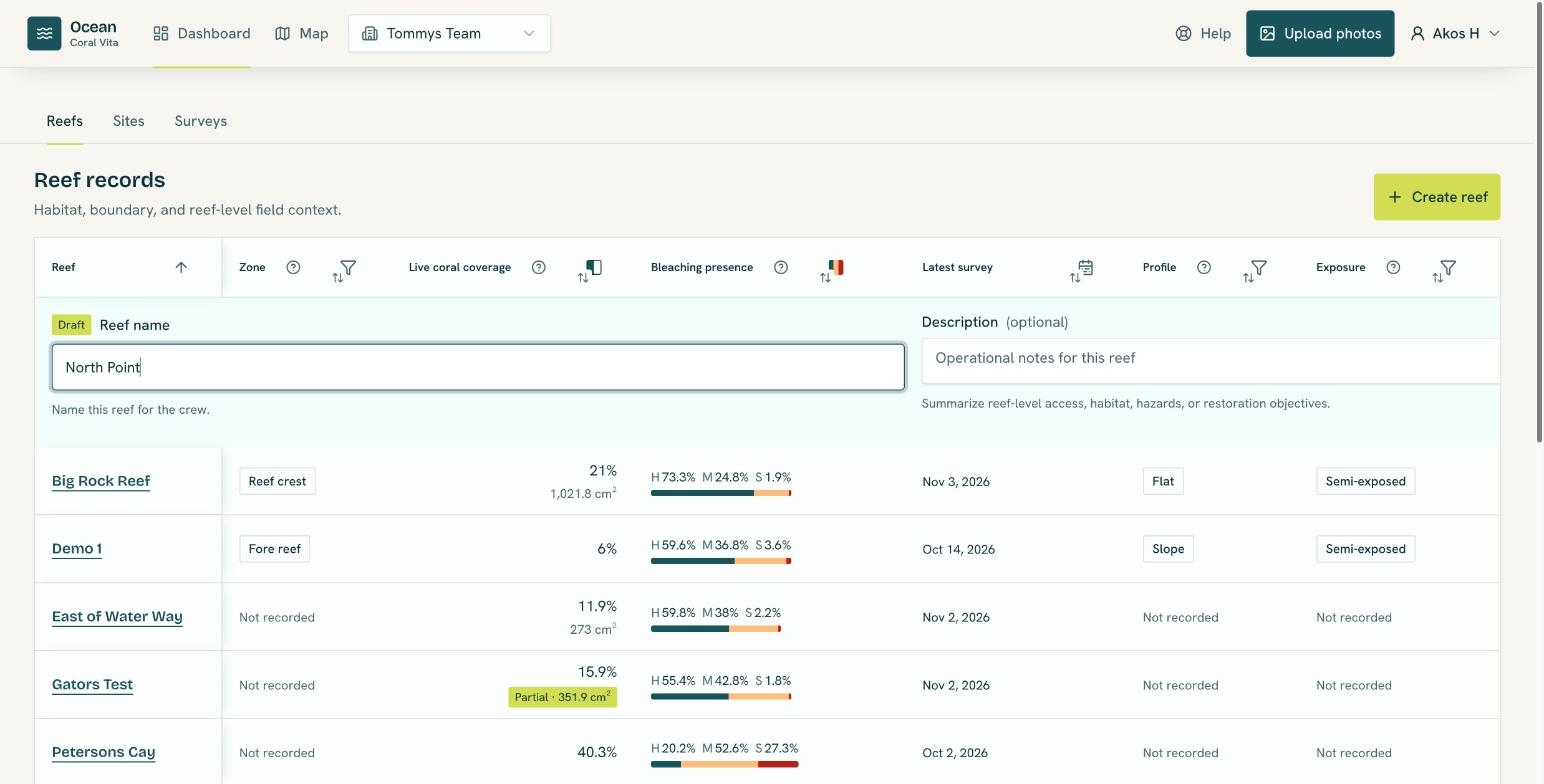
- Open Dashboard, stay on the Reefs tab, and select Create reef.
- Enter a Reef name and, if you like, a description (up to 2,000 characters). Ocean warns you if another reef in your organization already has that name, but lets you create it anyway.
- Select Create reef. The new reef appears on the ledger with Open reef and Map boundary shortcuts.
On the Map, Create reef in the sidebar asks only for a name.
Record habitat
Habitat describes the typical working area of the reef, not every site on it. Open the reef, select Edit reef, and fill in the Habitat section. Every field is optional; choose Not recorded when you don't know.
| Field | Options |
|---|---|
| Reef type | Fringing, Barrier, Patch, Atoll, Lagoon reef |
| Typical zone | Fore reef, Reef crest, Back reef, Lagoon |
| Typical profile | Flat, Slope, Wall |
| Typical exposure | Exposed, Semi-exposed, Sheltered |
| Typical depth (m) | Metres, 0 or more, up to two decimal places |
Habitat values become filters and columns on the dashboard, so you can compare reefs by zone, exposure or depth.
Map the reef boundary
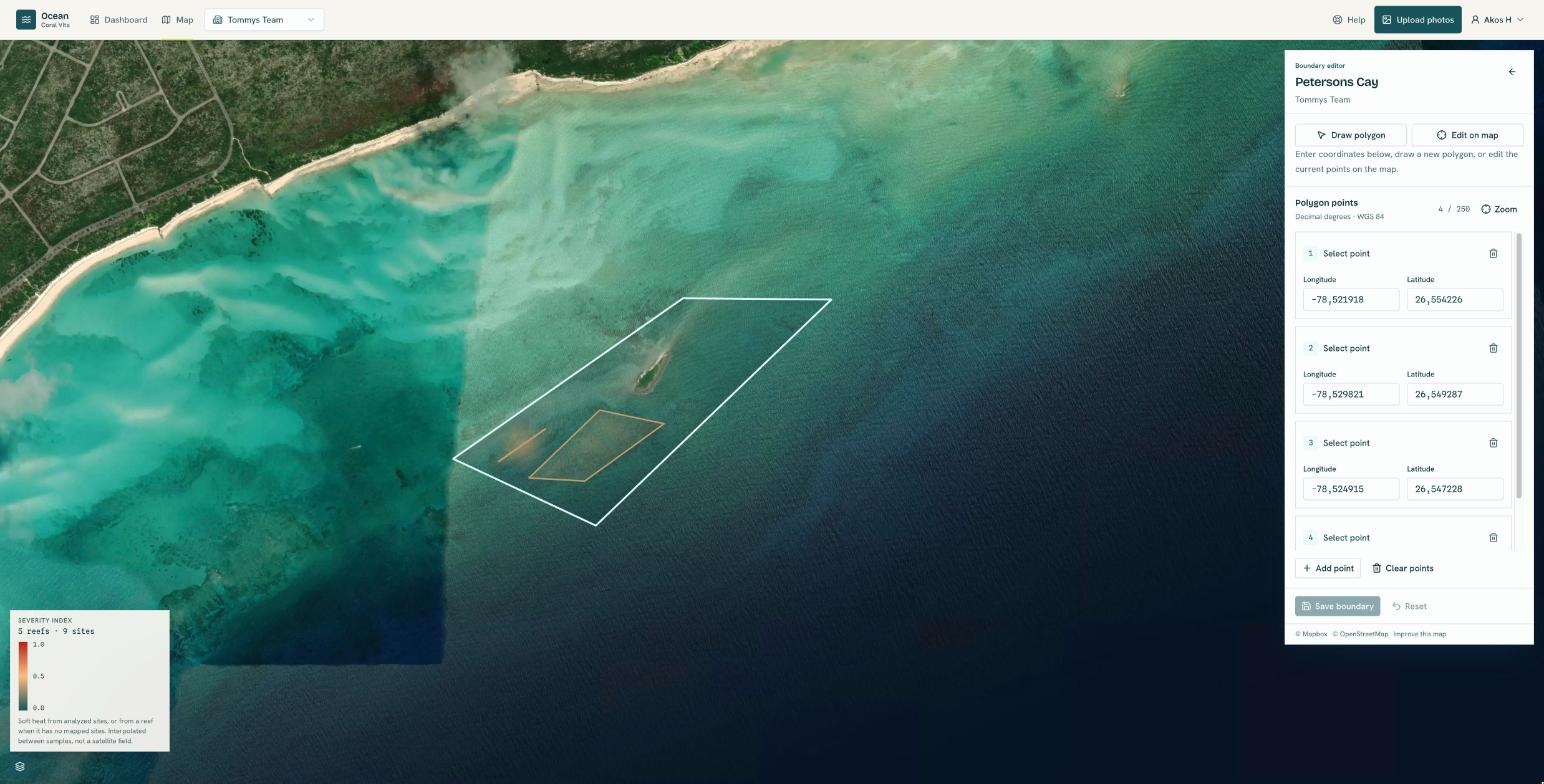
- Open the reef on the Map (or use Map boundary from the dashboard) and choose Map reef area.
- Choose Draw polygon and click around the reef. Click the first point again to finish.
- Adjust it with Edit on map by dragging the point handles, or type exact coordinates in the Polygon points list.
- Select Save boundary.
- A boundary needs 3 to 250 points and must enclose an area.
- Its edges can't cross each other.
- To change a saved boundary, choose Edit reef area.
Delete a reef
On the reef page, Delete reef removes the reef from the dashboard, map and reports, together with its sites, surveys and photos. Administrators can delete any reef; members can delete reefs they created.